


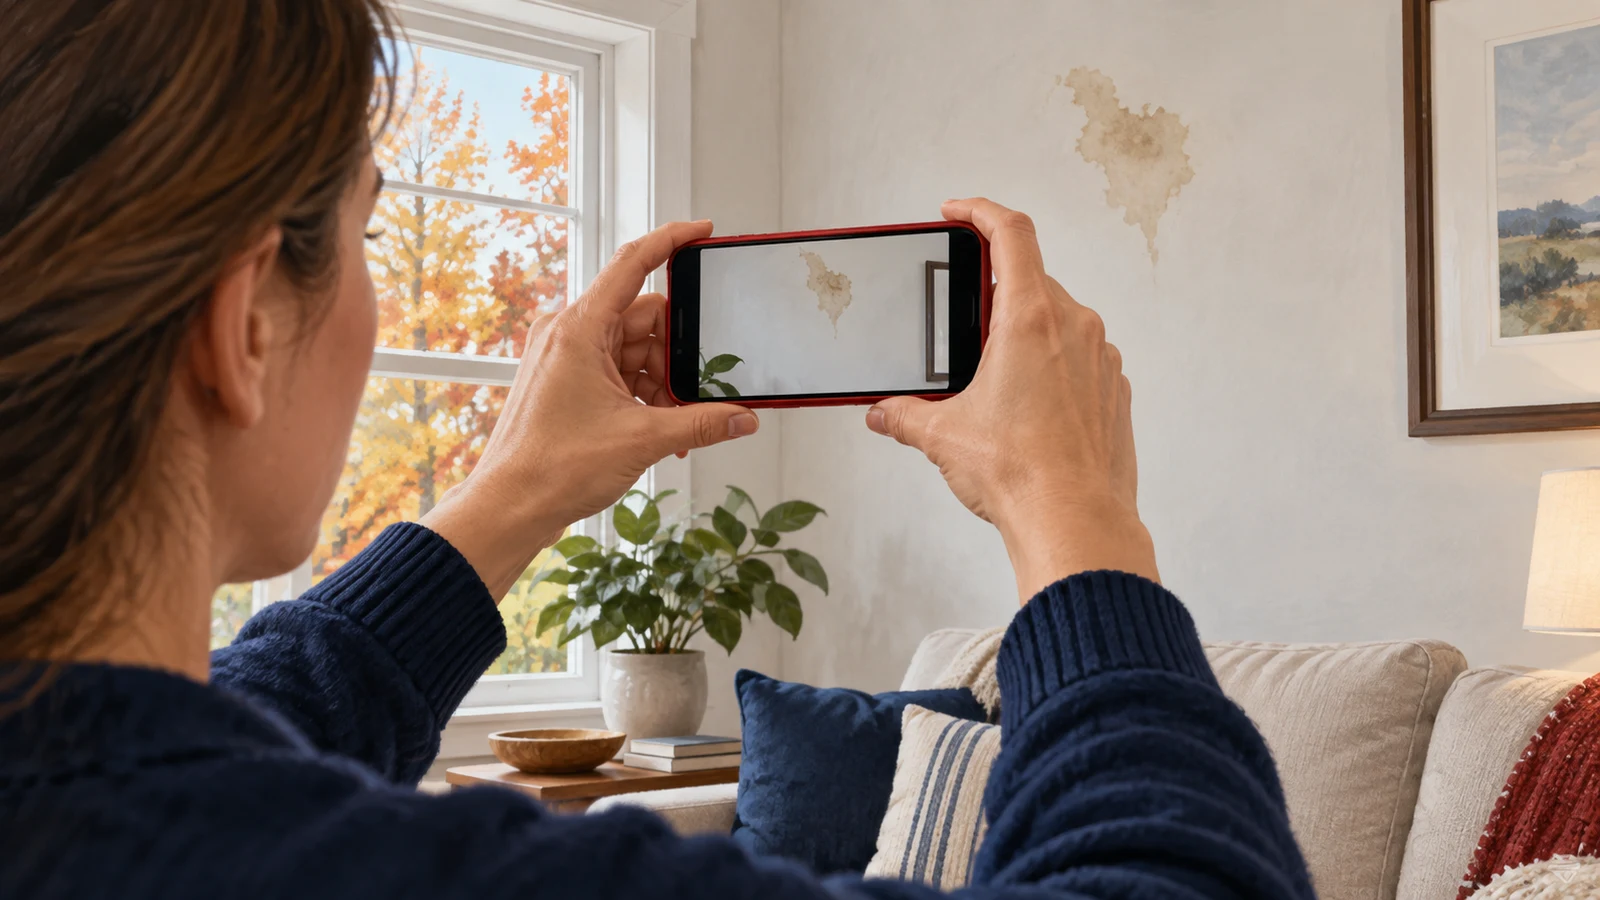
Good property damage photographs answer three basic questions: where is this, what is affected, and what detail should the viewer notice? A folder full of close-ups may show stains or broken materials without explaining their location. A simple sequence gives the insurer, contractor, and other reviewers the context they need.
Photos also help reconstruct belongings records. In a 2023 Triple-I/Munich Re survey, 47% of homeowners said they had prepared an inventory of their possessions. Insurance Information Institute / Munich Re That United States survey measures what homeowners said they had prepared, not the completeness of their inventories. Current photographs can fill some information gaps, especially when paired with receipts and item descriptions.
Photograph only where access is safe
Wait for appropriate clearance after a fire, structural event, or utility hazard. Do not move into standing water, climb damaged stairs, or stand beneath a sagging ceiling for a picture. Ask professionals to document areas requiring special access.
If a room cannot be entered, label it “not accessed” in your notes and explain why. The absence of a photograph should not be confused with an observation that the room was undamaged.
New York DFS's recovery guidance recommends photos or video and detailed loss records. Use that approach alongside prompt notice and necessary emergency protection; documentation is part of the response, not a reason to delay safety work.
Work from wide to close
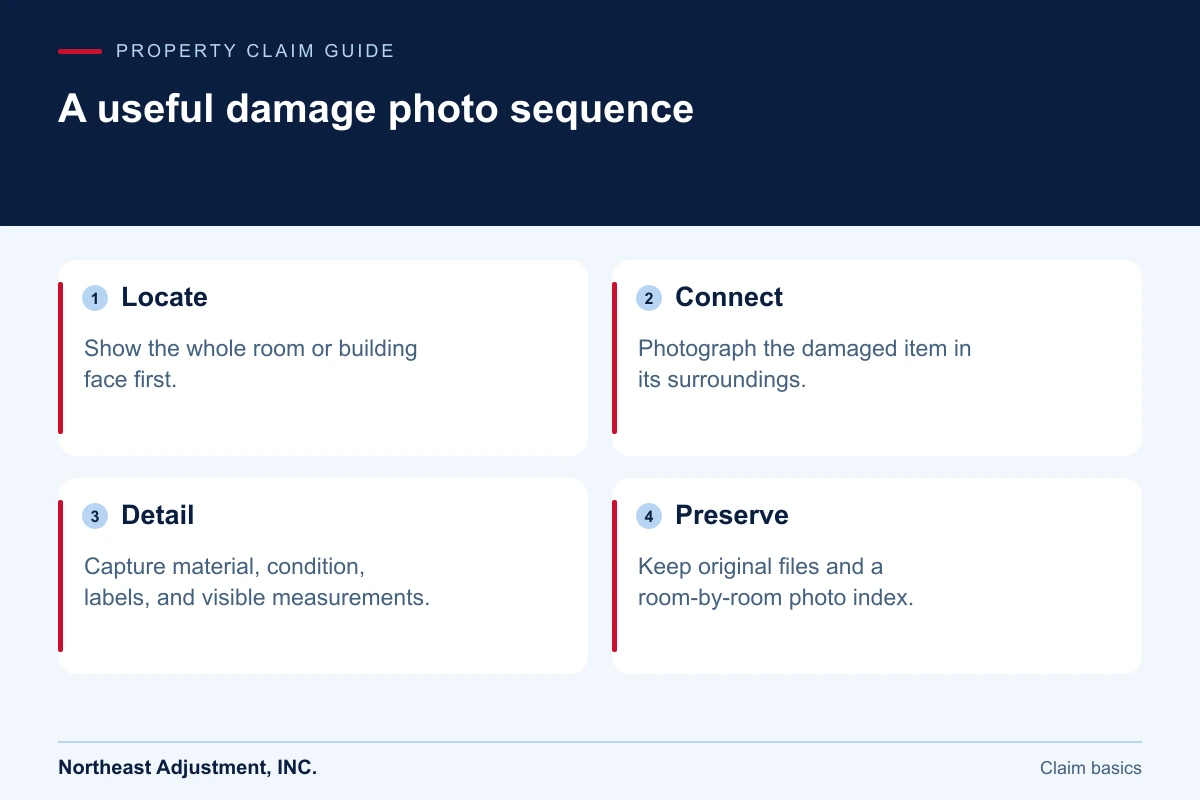
Start at the entrance to a room and photograph the whole space. Include recognizable features such as a door, window, or built-in cabinet. Next, take a middle-distance image showing the damaged area in relation to those features. Finish with close details.
For an appliance, capture the unit in place, the affected components, and the model or serial label when accessible. For a wall, show the full wall before focusing on staining or cracks. For flooring, include transitions into adjacent rooms.
A ruler can help show the size of a visible mark if placing it is safe. It does not establish hidden damage or replace professional measurements. Do not open electrical equipment or pull apart building materials to improve the view.
Keep a photo checklist
- Identification: Building address or unit designation in your notes, with room and floor labels.
- Context: Wide photographs that show layout and the path between affected areas.
- Condition: Close images of visible damage, material type, and equipment labels.
- Sequence: Before, during, and after necessary emergency work when available.
- Explanation: Short captions stating observations without guessing at cause.
Use ordinary lighting and preserve true colors. Avoid filters, aggressive edits, or annotations that cover the original damage. If you add arrows for explanation, save the marked version separately from the original.
Organize for someone who was not there
Create folders by floor or unit, then by room. A file name such as “second-floor-bedroom-west-wall” is easier to understand than “damage-final-new.” Add the date where helpful, while preserving the original file metadata.
Back up the originals in a secure location. Send copies using the insurer's requested method and keep a record of what was uploaded. If a portal resizes images, retain the full-resolution versions for follow-up.
A short index can connect image numbers to a contents list or repair estimate. This is particularly useful when several nearly identical rooms are involved.
An illustrative attached-home example
Imagine water has traveled from an upstairs bathroom into a dining room in an attached New York home. Ten close-ups of ceiling stains alone do not show which floor is involved.
The owner instead records the bathroom layout, the ceiling directly below, the dining room furniture, and the affected flooring. A plumber's findings are kept separately. Together, the images and professional report distinguish what is visible from what has been diagnosed. Neither the photographs nor the scenario establishes coverage by itself.
Common questions
Should I use video instead of photos?
Use video to show layout and a narrated walkthrough, then take still images of important details. Reviewers need readable labels and stable close-ups.
Can photos prove the cause?
Sometimes they show useful clues, but many causes require professional assessment. Caption what you observed and attach reports rather than making unsupported conclusions.
See our guide to the first 24 hours after property damage for the broader response. If your evidence needs organization for a claim, contact Northeast Adjustment.